Just scored your first set of our Claw Creature press-on nails? We know you're dying to put them on, so let's get you sorted. Our handmade press-on nails are designed for quick application and to have the maximum staying power possible. Just follow this easy guide, and those fabulous press-on nails will be locked down tight for days, just in time for your next iconic look!
Step 1: Prep Your Nails
The secret to a long-lasting manicure is the prep.
- Clean: Wipe your natural nails thoroughly with an alcohol pad to remove all oils and debris.
- File: Gently file the surface of your natural nail using the Nail File. Pro Tip: File vertically (top to bottom) to create texture for better adhesion.
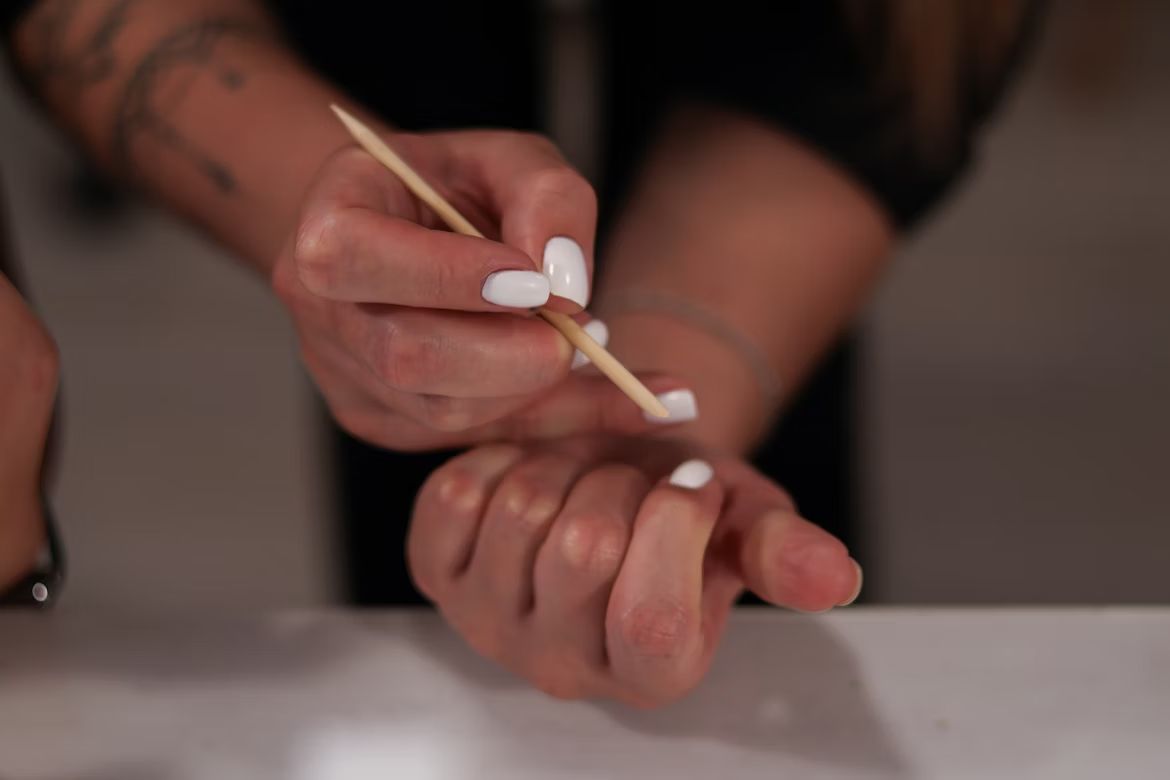
- Scrape: Use the pointed end of the wooden stick (Base Scraper) provided to gently push back and scrape away all dead skin and cuticle along the nail edges.
Step 2: Zero Moisture Zone
Clean your nail again with the alcohol pad. Wait for your nail base to be completely dry. Any remaining moisture or oil will sabotage your bond.
Step 3: Lay the Adhesive Tab Foundation
Our Adhesive Tabs are the key to a lasting hold.
- Choose the adhesive sticker pad (adhesive tab) that best fits your nail. It should cover most of your nail without touching your skin. Check out our nail sizing guide for tips.
- Apply the adhesive tab to your nail base.
- Press from the center out to the edges to squeeze out any air bubbles and fully secure the tab to your natural nail.
Step 4: Activate the Bond
- Peel off the protective film from the sticker.
- Firmly press all around your nail again to ensure the sticky side of the adhesive tab is fully bonded and secured to your nail surface.
Step 5: Position Your Press-On Nail
Your press-on nail should align perfectly for a natural look.
- Find the size number on the underside of the press-on nail.
- Ensure the wider, softer end of the nail is aligned with the base of your natural nail bed (the cuticle area).

Step 6: Mind the Gap (1-2mm)
This step is critical for a professional finish:
- Do not press the press-on nail's base directly against your skin/cuticle edge.
- Apply the nail about 1–2mm away from the edge. This small gap mimics a naturally grown nail, making your mani look flawlessly real.
Step 7: Final Lock & Unleash!
- Once positioned correctly, apply pressure towards the inner edge (the base) and firmly squeeze down to engage the bond.
- Finish by applying firm pressure across the entire surface of the press-on nail for about 10-15 seconds to ensure a full, secure seal.
You are now locked and loaded! With proper application, your Claw Creature handmade press-on nails can last up to 5-7 days.
Share:
How to Measure Nails For Press-Ons: A Step-by-Step Guide
The Ultimate Guide to Removing Your Press-On Nails